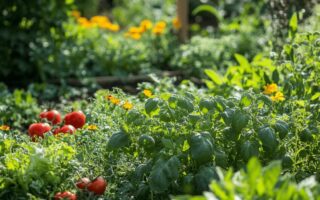
Growing your own tomatoes can be one of the most rewarding experiences in the vegetable patch, but it requires a bit of knowledge and careful timing to get those tender seedlings from the comfort of their indoor pots into the open ground without causing them undue stress. The process of transplanting tomatoes is a delicate dance between understanding the needs of the plant and reading the signals from the environment around you. With the right approach, your tomato plants will establish themselves quickly and go on to produce abundant crops of delicious fruit throughout the summer and into early autumn.
Understanding the Perfect Timing for Transplanting Tomatoes Outdoors
The timing of when you move your tomato seedlings outside is absolutely critical to their success. Tomatoes are warm season crops that truly despise cold conditions, and exposing them to chilly temperatures or frost can set them back significantly or even kill them outright. The key is to wait until soil temperatures have risen consistently to around 16 degrees Celsius or higher, and nighttime air temperatures remain reliably above this threshold as well. In many parts of the UK, this typically means waiting until late May or early June, once the risk of frost has passed. Gardeners in southern regions may be able to plant a bit earlier, whilst those in northern areas or exposed sites should exercise patience and wait until conditions are truly favourable.
Assessing soil temperature and weather conditions before moving seedlings
Before you even consider moving your tomato seedlings into the garden, it is essential to assess both soil and air temperatures carefully. You can use a soil thermometer to check the temperature at planting depth, which should ideally be around 16 degrees Celsius or above for optimal root development. If the soil is still too cold, the roots will struggle to establish, and the plant will sit there sulking rather than growing vigorously. Additionally, keep an eye on the weather forecast for at least a week ahead. Look for a period of settled, mild weather without any predicted frosts or sudden cold snaps. Even if daytime temperatures are warm, a chilly night can cause significant stress to young plants that have not yet been properly acclimatised to outdoor conditions.
The critical role of hardening off your young tomato plants
Hardening off is an absolutely essential step that should never be rushed or skipped. This process involves gradually acclimatising your indoor-grown seedlings to the harsher conditions they will face outside, including stronger sunlight, wind, and temperature fluctuations. Begin the hardening off process about two weeks before you intend to transplant your tomatoes into the garden. Start by placing the plants outside in a sheltered, shady spot for just an hour or two on the first day, then bring them back inside. Over the course of the following days, gradually increase the amount of time they spend outdoors and slowly introduce them to more direct sunlight. By the end of the two-week period, your plants should be able to stay outside overnight, provided there is no risk of frost. This gradual transition helps the plants develop stronger stems and leaves that can better cope with outdoor conditions, reducing the shock of transplanting and helping them establish more quickly once they are in their permanent positions.
Preparing Your Garden Bed and Seedlings for Successful Transplanting
Proper preparation of both your garden bed and your seedlings will set the stage for healthy, productive tomato plants. Taking the time to create the ideal growing conditions before you plant will pay dividends throughout the growing season, as tomatoes are quite demanding plants that require plenty of nutrients, consistent moisture, and good drainage. Similarly, ensuring your seedlings are in the best possible condition before the move will help them settle in quickly and start growing vigorously.
Creating the Ideal Planting Site with Proper Soil Amendments
Tomatoes thrive in soil that is rich in organic matter, well-drained, and slightly acidic to neutral in pH. Choose a sunny spot in your garden that receives at least eight to ten hours of direct sunlight each day, as this is crucial for good fruit production. If you are using raised beds, ensure they are at least 45 centimetres deep to accommodate the extensive root systems that tomatoes develop. Before planting, work plenty of well-rotted compost or aged manure into the top layer of soil to boost fertility and improve soil structure. This organic matter will help retain moisture whilst also providing essential nutrients that the plants will draw on throughout the growing season. Avoid using fresh manure, as this can be too strong and may burn the roots of young plants. If your soil is heavy clay, consider adding some horticultural grit or sharp sand to improve drainage, as tomatoes do not appreciate sitting in waterlogged conditions.
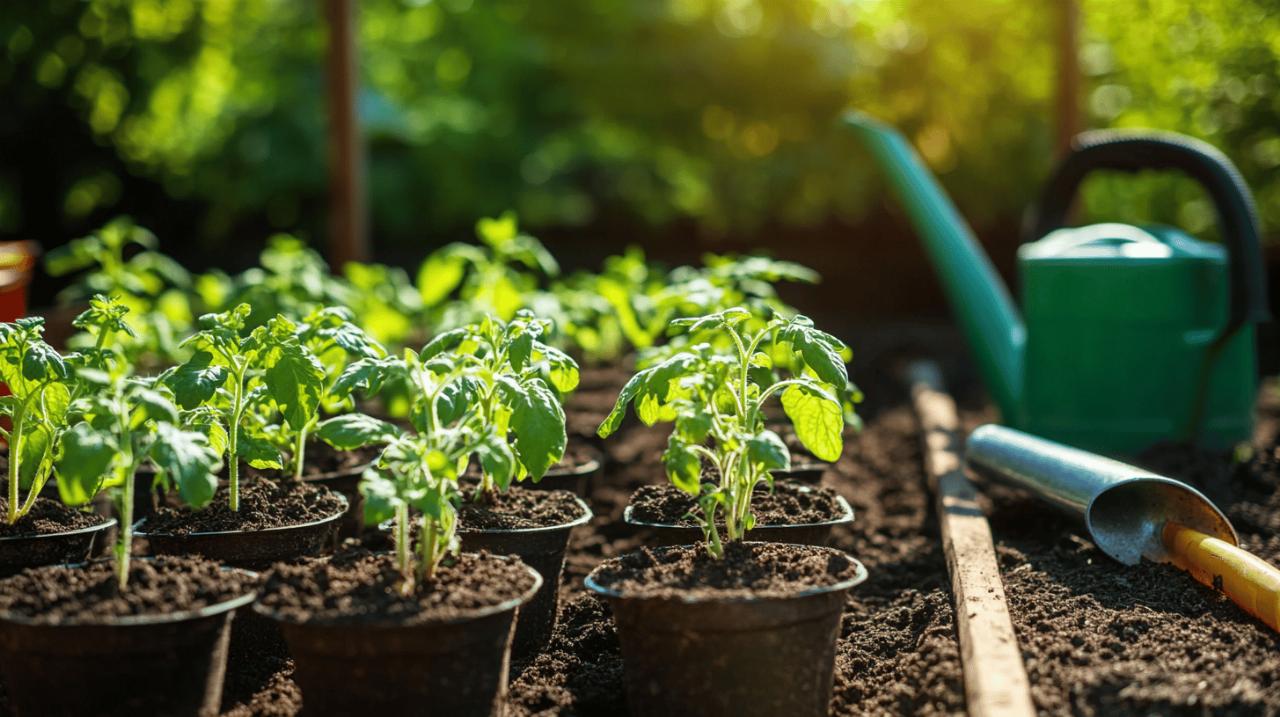
Final seedling care steps before moving to open ground
In the days leading up to transplanting, there are a few final checks and preparations to make with your seedlings. Ensure they are well-watered the day before you plan to plant them, as this will help reduce stress during the move. Inspect each plant carefully for any signs of pests or disease, as you do not want to introduce problems into your garden. Healthy seedlings should have sturdy stems, deep green leaves, and a well-developed root system visible through the drainage holes at the bottom of the pot. If you notice any flowers forming on your plants whilst they are still in their pots, it is a good idea to pinch these off before transplanting. Whilst it might seem counterintuitive to remove potential fruit, allowing the plant to flower before it has a strong root system can divert energy away from establishment and result in weaker overall growth. By removing early flowers, you encourage the plant to focus its energy on developing a robust root system and strong stems, which will ultimately lead to more productive plants later in the season.
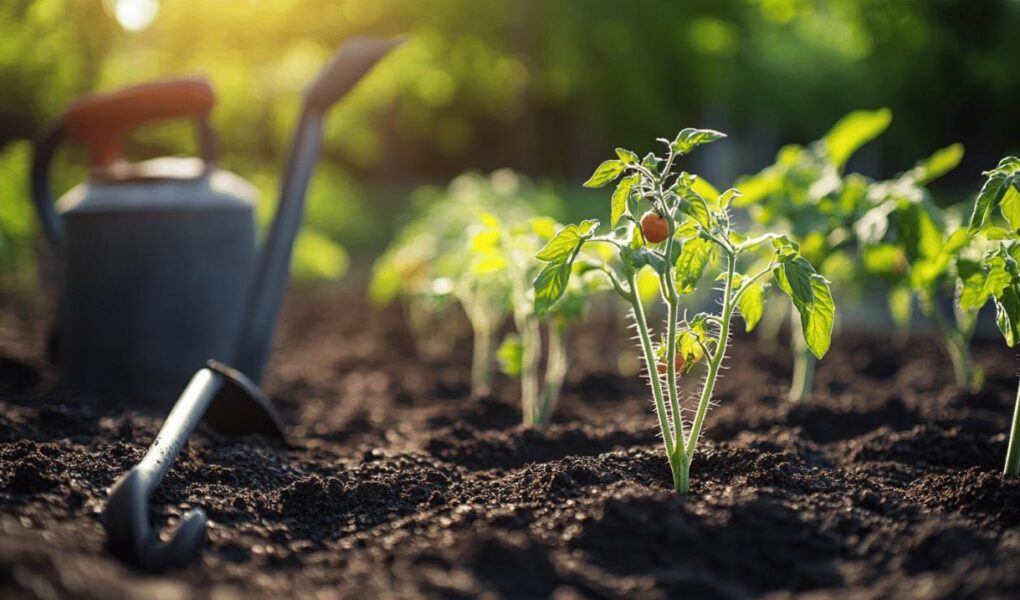
The step-by-step transplanting process for healthy tomato establishment
 The actual process of transplanting tomatoes requires care and attention to detail, but it is quite straightforward once you understand the basic principles. The goal is to minimise root disturbance, plant at the correct depth, and provide immediate support to help the plants establish quickly. Taking your time during this stage will ensure your plants get off to the best possible start in their new home.
Proper Planting Depth and Spacing Techniques for Tomato Seedlings
One of the unique characteristics of tomato plants is their ability to develop roots along any part of the stem that is buried in the soil. This means you can plant your seedlings much deeper than you would with most other vegetables, which helps create a more extensive root system and results in stronger, more stable plants. When you dig your planting hole, make it deep enough so that you can bury the stem up to the first set of true leaves. Gently remove the lower leaves from the stem before planting, as these will be below the soil surface. Place the plant in the hole and backfill with soil, firming it gently around the stem to eliminate air pockets. The spacing between plants is also important, as tomatoes need good air circulation to reduce the risk of fungal diseases. For cordon or indeterminate varieties, which grow as single-stemmed plants and require staking, allow 45 to 60 centimetres between plants. Bush or determinate varieties, which are more compact, can be spaced slightly closer at around 30 to 45 centimetres apart. If you are planting in rows, leave at least 75 centimetres between rows to allow for easy access and good airflow.
Watering and initial protection methods after transplanting
Immediately after planting, water each tomato plant thoroughly to help settle the soil around the roots and eliminate any remaining air pockets. Give each plant a generous drink, allowing the water to soak deep into the soil rather than just wetting the surface. This initial watering is crucial for helping the roots make contact with the surrounding soil and begin the process of establishment. In the days following transplanting, keep a close eye on your plants and water regularly to ensure the soil remains consistently moist but not waterlogged. Newly transplanted seedlings are particularly vulnerable to stress, and allowing the soil to dry out can cause them to wilt or even die. If the weather turns unexpectedly cold or windy in the days after planting, consider providing some temporary protection in the form of cloches, horticultural fleece, or even improvised covers made from plastic bottles with the bottoms cut off. This extra layer of protection can help maintain a more stable microclimate around the plants whilst they adjust to their new environment.
Post-Transplant Care to Ensure Robust Growth in Your Garden
Once your tomato plants are settled into their new positions, the focus shifts to providing consistent care that will support healthy growth and abundant fruit production. Tomatoes are quite demanding plants that require regular attention, but the rewards in terms of flavour and productivity make the effort worthwhile.
Early-Stage Feeding and Mulching Practices for Transplanted Tomatoes
In the first few weeks after transplanting, your tomato plants will be focusing their energy on developing a strong root system and establishing themselves in their new location. During this period, they generally do not require additional feeding beyond what is already present in the soil, provided you have prepared the bed well with plenty of organic matter. However, once the plants begin to flower and set fruit, their nutrient demands increase significantly, and regular feeding becomes essential. At this stage, begin applying a high potassium liquid fertiliser every ten to fourteen days to support fruit development. Organic options such as comfrey liquid or seaweed extract are excellent choices, as they provide a balanced range of nutrients without the risk of overfeeding. Mulching around the base of your plants with a layer of organic material such as well-rotted compost, straw, or grass clippings can help retain soil moisture, suppress weeds, and regulate soil temperature. Apply the mulch a few centimetres thick, taking care not to pile it directly against the stems, as this can encourage rotting and provide a hiding place for slugs.
Monitoring and troubleshooting common transplant challenges
Even with the best preparation and care, transplanted tomatoes can occasionally encounter problems as they adjust to their new environment. One common issue is blossom end rot, which appears as a dark, sunken patch at the bottom of the fruit. This condition is caused by calcium deficiency, which is often linked to irregular watering rather than a lack of calcium in the soil. To prevent blossom end rot, ensure your plants receive consistent moisture by watering regularly and mulching to reduce fluctuations in soil moisture levels. Another potential problem is tomato blight, a fungal disease that can quickly devastate plants in wet, humid conditions. The first signs of blight are dark patches on the leaves and stems, which can spread rapidly if left unchecked. If you notice any symptoms, remove affected leaves immediately and dispose of them away from your compost heap. In severe cases, you may need to remove entire plants to prevent the disease from spreading to neighbouring tomatoes. Split skins on the fruit are another common issue caused by uneven watering, particularly if plants receive a heavy drink after a period of drought. The fruit absorbs water rapidly, causing the skin to split. Maintaining consistent soil moisture through regular watering and mulching is the best way to prevent this problem. Keep an eye out for pests such as tomato hornworms, which are large caterpillars that can quickly strip a plant of its leaves. These pests are usually easy to spot and can be removed by hand. Encouraging beneficial insects such as ladybirds and lacewings into your garden will help keep pest populations under control naturally. By staying vigilant and addressing problems promptly, you can ensure your transplanted tomatoes go on to thrive and produce a bountiful harvest of delicious, home-grown fruit.